Glock detail strip: tools, order and reassembly
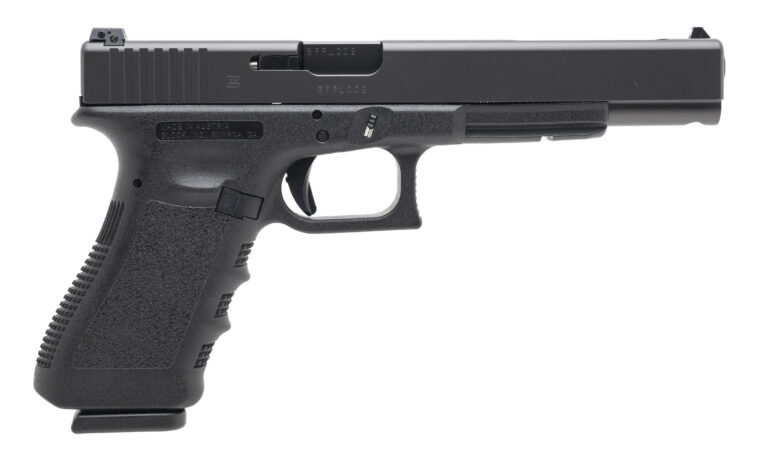
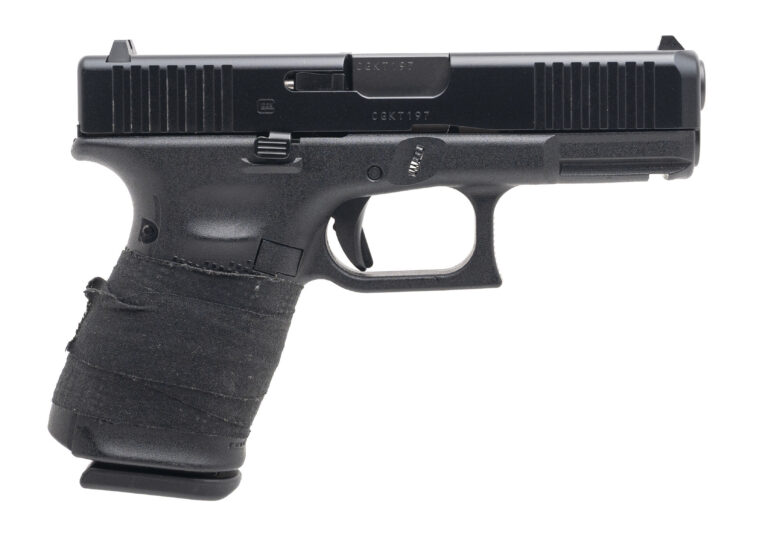
A field strip separates a Glock into slide, barrel, recoil assembly and frame and is all most cleaning needs. A detail strip takes the slide and frame down to their parts, and it is what you do to replace a spring, a striker, an extractor or a trigger part. It takes one punch, ten minutes the first time and two the tenth. This guide gives the order, the tools and the traps, and the checks to run when it is back together.
Before you start
Remove the magazine, lock the slide back, look and feel in the chamber, and put the ammunition in another room. Work over a mat or a towel so small parts do not bounce away, and wear eye protection: two springs on this list will launch if they slip. Have a small tray for parts and set them out in the order they come off.
Tools
A 3/32 inch punch, ideally the Glock armorer's tool, is the only essential. A bench block with a hole saves your fingers when driving pins. A 3/16 inch nut driver for the front sight and a sight pusher for the rear are needed only for sights. A small flat screwdriver helps with the connector. Nothing on a Glock needs a hammer. The tools guide covers what each does.
Field strip
Point the pistol in a safe direction, pull the trigger on the empty chamber, pull the slide back about a tenth of an inch, pull both sides of the slide lock down, and run the slide forward off the frame. Lift the recoil assembly out of its seat on the barrel lug, then lift the barrel out of the slide. That is the field strip; everything below is the detail.
Slide, in order
- Hold the slide muzzle down. Press the spacer sleeve down with the punch and slide the cover plate off, keeping a thumb over the opening.
- Lift out the striker assembly, and let the extractor depressor plunger assembly slide out behind it. Note which way the bearing faces.
- Press the firing pin safety plunger down and lift the extractor out from the side.
- Let the firing pin safety and its spring drop out of their hole.
- To take the striker assembly apart, hold the striker, press the spring cups down against the spring with a tool and slide the two cups off sideways; release the spring slowly. The spacer sleeve slides off the rear.
- The channel liner stays in the slide. Sights come out with the nut driver and pusher if you are changing them.
Frame, in order
- Push out the locking block pin, the upper of the three on Gen 2 to 4 frames, from left to right. Gen 1 and Gen 5 frames have no pin here.
- Push out the trigger pin, the lower front pin, while wiggling the slide stop lever; the lever's spring hooks under the pin and it releases when the lever is moved.
- Lift out the slide stop lever and then the locking block.
- Push out the trigger housing pin at the rear of the grip.
- Lift the trigger housing up and out of the frame; the trigger and bar come with it. Unhook the trigger spring and separate the bar from the housing by lifting the cruciform out of the housing slot and rotating the bar.
- Pry the connector out of its slot on the housing if you are changing it.
- Push the slide lock spring down and slide the slide lock out sideways; the leaf spring lifts out behind it. Gen 5 has a coil spring here.
- Press the magazine catch spring toward the catch with the punch and slide the catch out; the spring lifts out of its channel.
Cleaning while it is apart
With the slide stripped, run a dry patch through the striker channel and wipe the extractor channel; with the frame stripped, brush the trigger housing slot and the locking block seat. Oil only the slide rails, the barrel hood and lug and the connector face on the way back together.
Magazine
Push the floorplate insert through the hole in the plate, slide the plate forward with a thumb over it, ease the spring and follower out. Note the follower's orientation.
Reassembly and the traps
Reverse the order. Frame: magazine catch spring first, then catch; slide lock spring, then lock, checking it snaps down; trigger spring hooked between bar and housing before the housing goes in; housing seated fully so the housing pin slides through without force; locking block in, slide stop lever with its spring under the trigger pin channel, trigger pin in from right to left while wiggling the lever until it clicks into the pin's groove; locking block pin last. Slide: firing pin safety and spring in first, extractor in while the plunger is depressed, depressor plunger assembly in with the bearing facing the extractor, striker assembly in, cover plate slid on while pressing the sleeve and the plunger down. The traps are a trigger spring off its hook, a bearing in backward, a slide lock spring not seated and a striker spring cup not square; each shows up on the checks.
Checks after
Trigger safety, firing pin safety with the slide off, drop safety with the slide on, slam test on an empty chamber, reset, slide lock-back with an empty magazine, then 100 rounds at the range. If a check fails, strip again; the fault is one of the traps above. See the parts diagram for names, and OEM versus aftermarket for which parts to put back and which to upgrade while it is apart. Browse tools and parts; everything ships to your door.
General information, not legal advice. Current as of September 2026. Laws change; check the official source before you act.